In my Honors Physics class we had a bridge building contest. We divided the six person class into two teams and made a competition out of it. Bridges of the real world come in various designs and a wide range of sizes. Our bridges would be on a smaller scale, only having to span a distance of 40cm. Despite the difference in size of bridges, the same laws of physics would apply to our bridge. We explored laws such as Hooke's Law, Newton’s three laws and the effect of gravity of objects. Our goal was to apply these rules and laws to our own construction. We also placed a material restriction on the construction of our bridges. Both groups would only be able to use three materials, small wooden toothpicks, wooden barbecue skewers and plastic coffee stirrers. Materials had to be connected with only Elmer's glue and a group could not “laminate” materials either, which is gluing more than four pieces together side by side. A limit was then placed on these materials, by assigning a “price” to each of the materials, the group in turn would have a maximum budget of $2500. After these ground rules were set, as a class we decided what attributes would be tested to determine the winning bridge. From this, we concluded the winning bridge, would not necessarily be the bridge that held the most weight, but the bridge that was the most efficient. We calculated the efficiency of our bridge by dividing the mass held by the mass of the bridge itself. This number would then
be multiplied by 100 to get an efficiency percentage.
As we began to construct our own bridge, we did not know where to start. In class, we looked at five basic bridge designs which included arch bridge, beam bridge, truss bridge suspension bridge and cable-stayed bridge. Our group eliminated any sort of cable-suspended due our material restriction. We also eliminated any form of a beam bridge because our bridge needed to be free standing from the floor. Knowing this, in our original design we tried to create an arch bridge that would distribute the force of the load onto the table instead of the bridge itself. We would use skewers as the backbone for the bridge, and toothpicks to fill the cracks and smaller spaces on our bridge. We eliminated any use of the coffee stirrers because we tested elasticity of all the materials using Hooke's Law in class. Our group would test the shearing force that was need to break each of the materials. We tested this placing the materials so they were hanging over a gap between two tables. Then using the force calculator with a hook attachment we pulled down on the materials until they would break. The other group would test the compressible force required for breaking the materials. To test this, they would place a sample of the material between two inch thick pieces of wood, then apply force to the top piece with a force calculator. And then using Hooke's Law (Force= Elasticity*Distance from start) we were able to calculate the elasticity of each material. Both groups concluded that the skewers were the strongest and toothpicks were close behind. So knowing this information allowed us to start our construction of our bridge.

The picture above is something like we originally intended. As weight would be added to the bridge, the arch would then began to be pull down also. But as the edges began to move outward they would be held in place by the table.The one problem we weren't sure how we're going to address was how to create the arch without breaking the skewers. In the long run, it did not matter because while constructing our bridge, we had a calculation error.While building our bridge, we thought the cost of our deck was only $1300 which would leave us around $1200 to construct our arch. After constructing our deck, we recalculated the cost and came to find out that our deck came out to be somewhere around $2400. This miscalculation of price ruined any chance we had at constructing an arch. In frantic effort to save our bridge, we cut of around 2cm of the deck and placed it standing vertically in the middle of the bridge to act as a truss. And with our remaining money we purchased two toothpicks to connect our trusses.
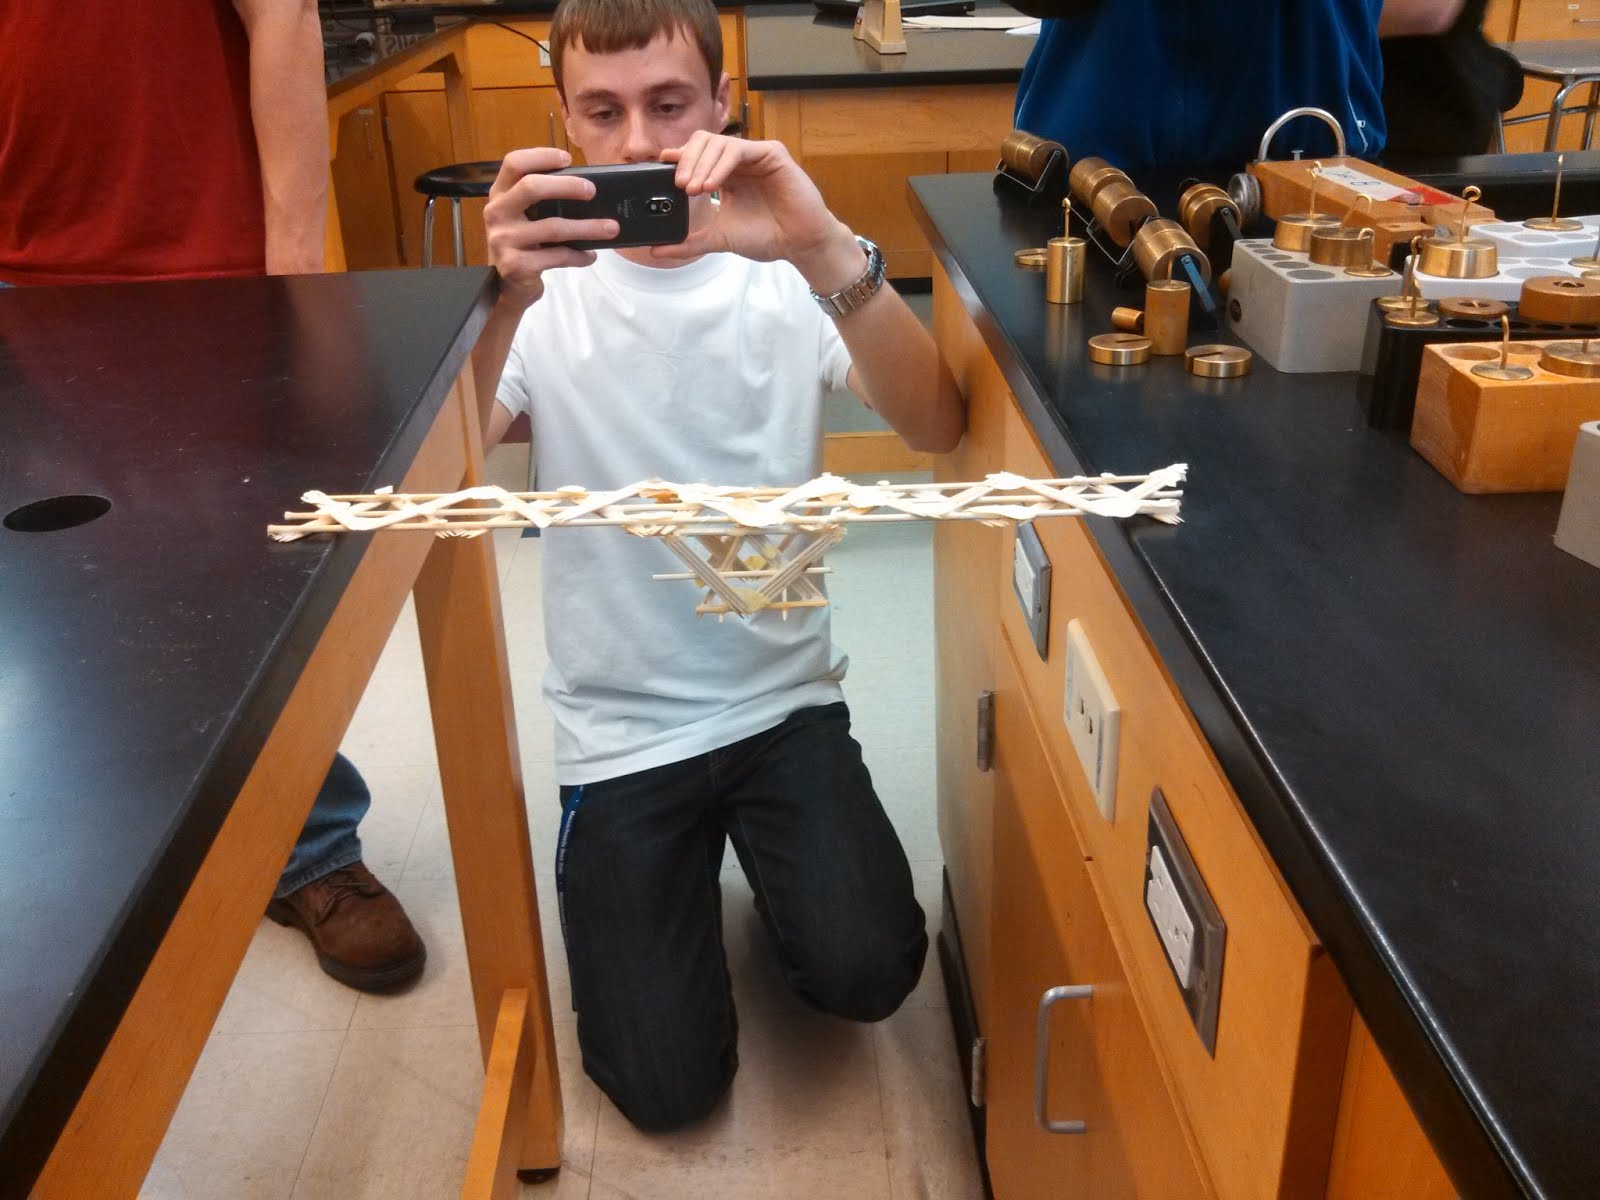
After finishing the construction of our bridge, it was time to test them. The bridge was placed between the two bridges as you see above. We would attach a bucket with a rope, and then place the additional weight into the bucket. Everytime we increased the load, the bridge would have to hold it for 10 seconds for the weight to count. Our bridge looked weak from the beginning, it did not look stable or safe. Surprisingly, it held more than everyone thought. It would continue to bend and bend but it actually never snapped. Even though our bridge held 300 grams less than the other group (Their bridge held 2970.9g, ours held 2620.2g), are bridge weighed 13 grams less than the other groups (Our bridge weighed 35.8g, theirs weighed 48.7g). So when we calculated the efficiency, by dividing the weight held by the mass of the bridge (2970.9g/48.7g and 2620.2g /35.8g) our was nearly 1000 points higher (7,218% to 6,186%). Since our bridge had the higher efficiency we were the winners of the competition.
Our bridge did not have the our intended design. Even though our outcome was still what we wanted, our group believed that if we were able to build the arch like we originally intended too are bridge would've been much better designed and be able to be more efficient. Though our design had the higher efficiency, we believed the other groups design was stronger and better executed. They used three trusses to support their bridge. It looked similar to this...
On the other hand we felt our was just put together at last minute. Despite this, our bridge’s flexibility was unmatched, as I previously mentioned, our bridge did not snap in half, it actually bent so much, it slid of the the table. Realistically, if a bridge flexed as much our model, it would never be able to function in the real world! Overall, I enjoyed the project. I liked the idea of the budget, it made use utilize different design techniques. I would recommend the project to any physics class at any level.
it realy net
ReplyDelete